What Are the Best Street Photography Camera Settings?
This post contains affiliate links which means I may receive a commission from purchases made through links. I will only recommend products I know personally used, and can attest to their high quality. Learn more on my private policy page
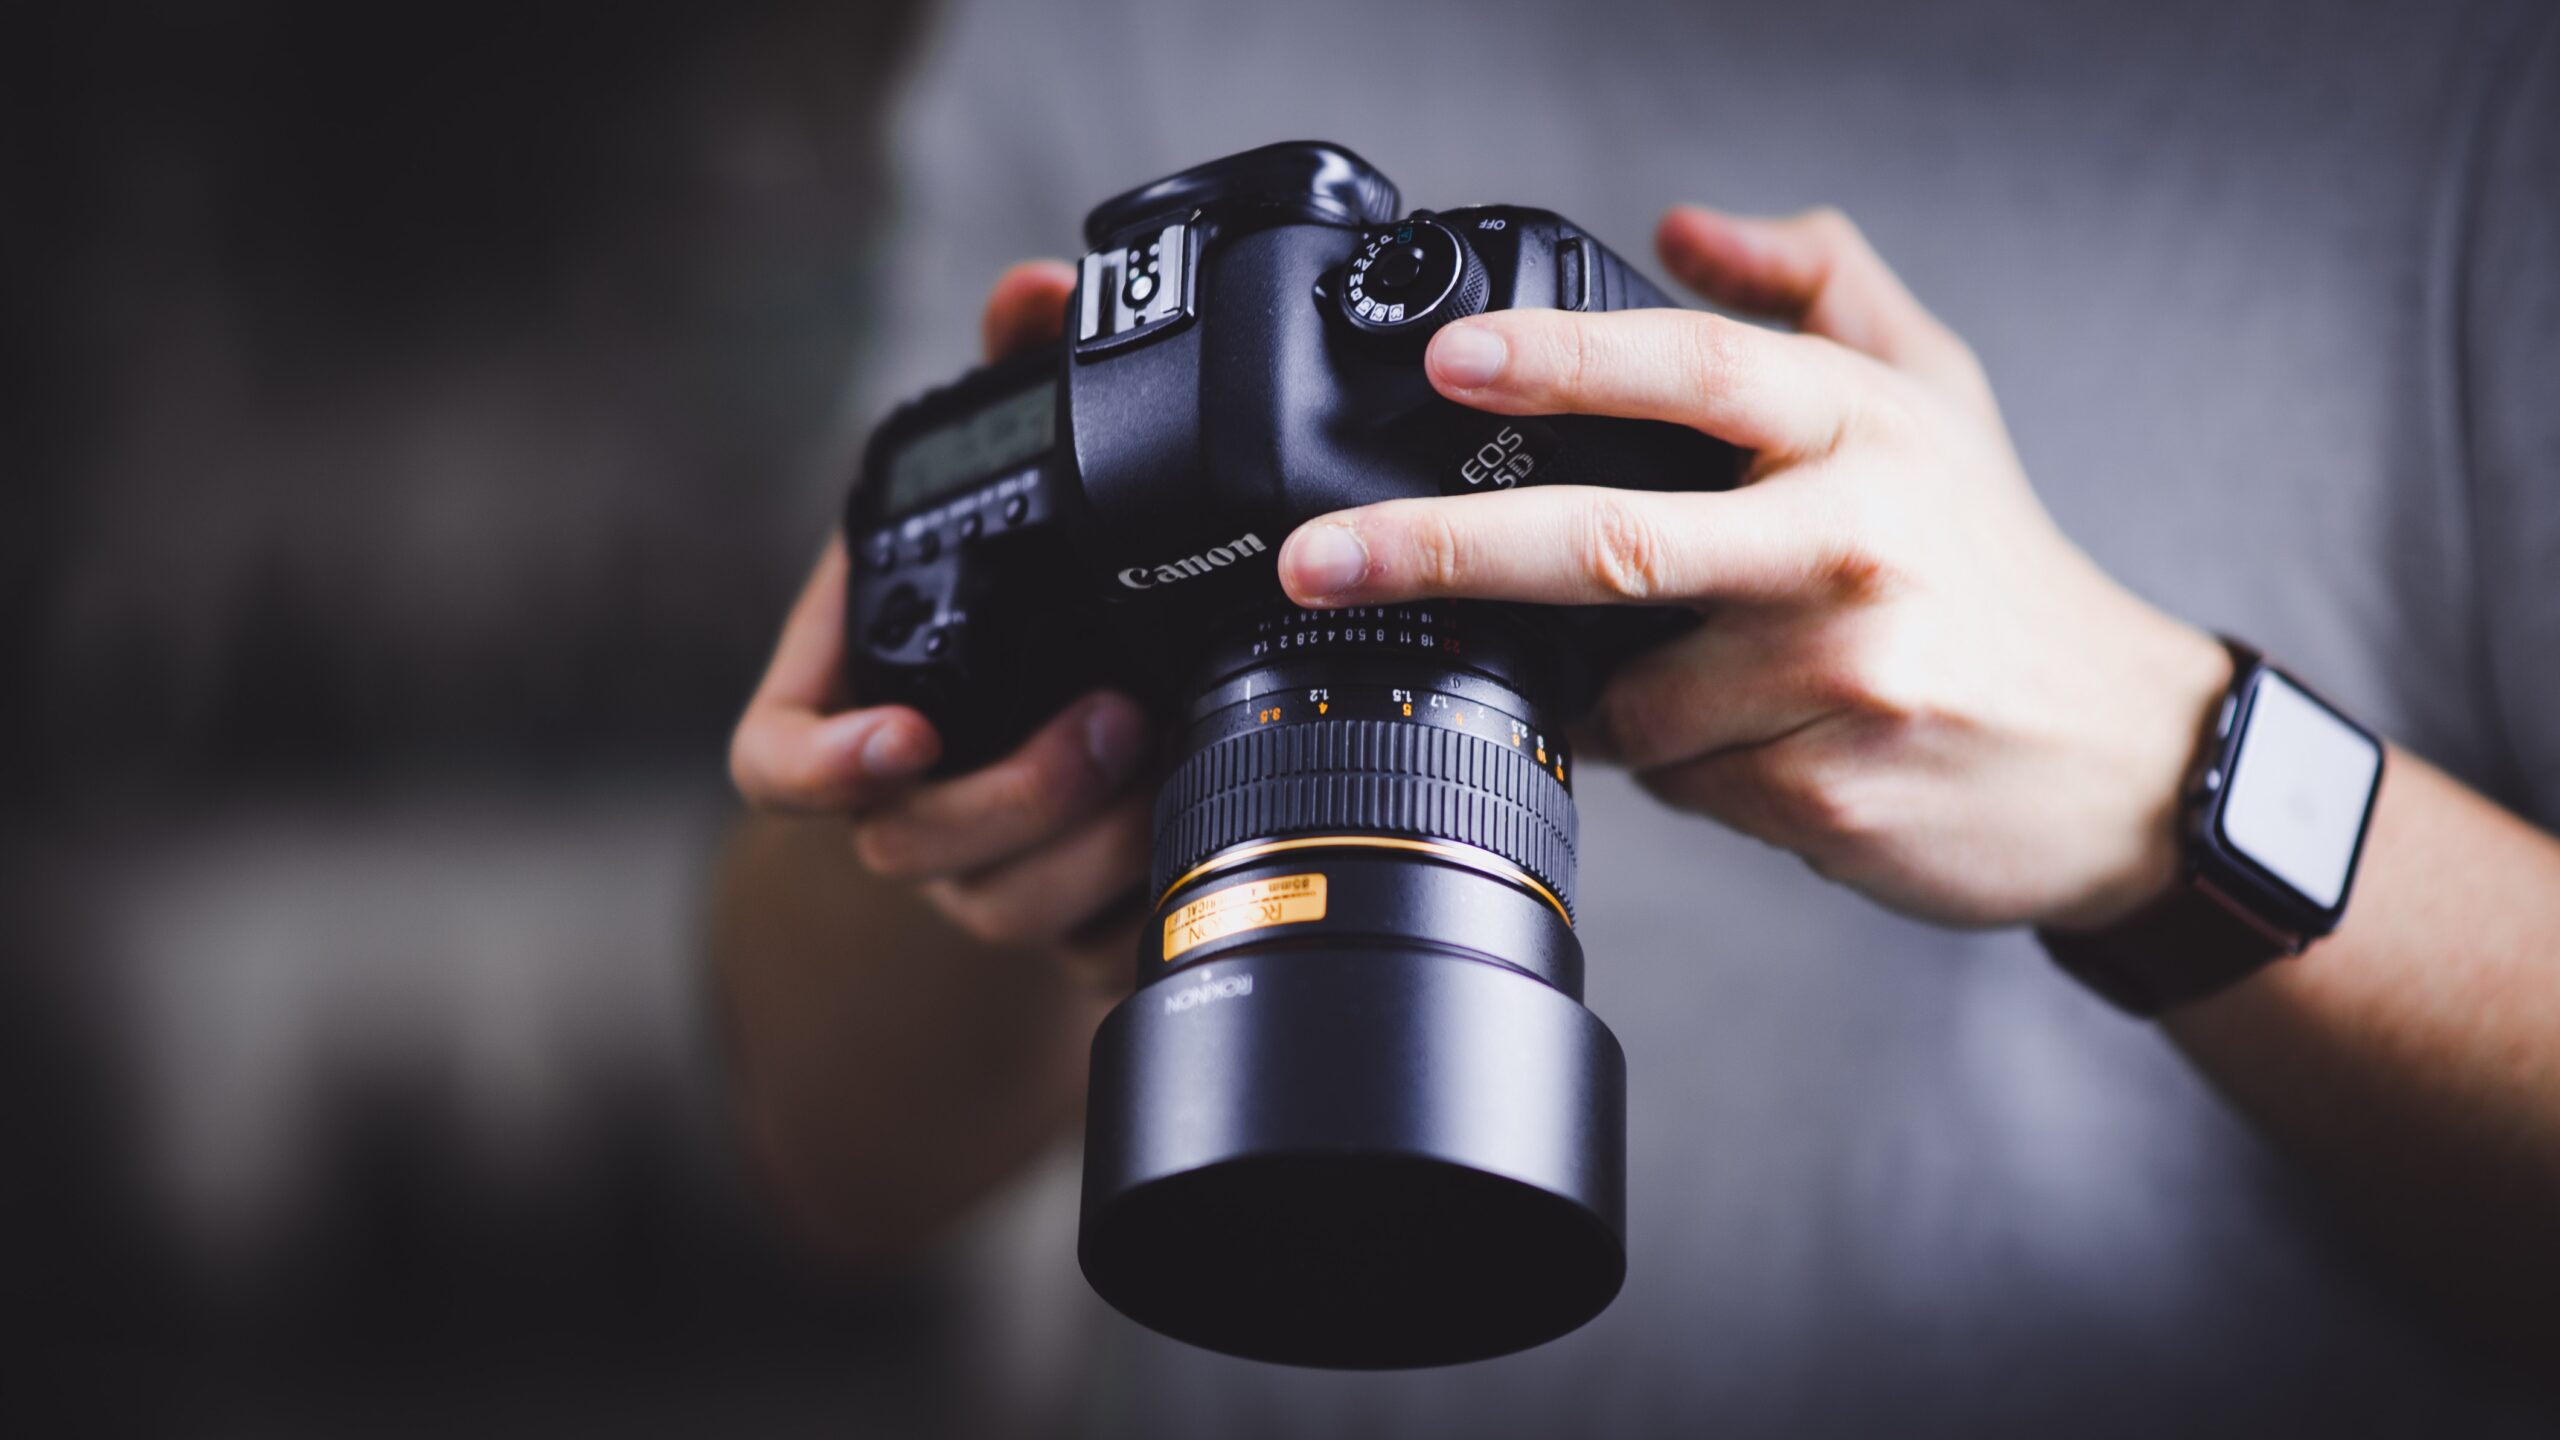
If you’re passionate about street photography, you know that finding the perfect camera settings is important. Mastering the art of street photography requires an understanding of shutter speed, aperture, and ISO.
In this comprehensive guide, we’ll walk you through everything you need to know to find the ideal settings for your street photography adventures.
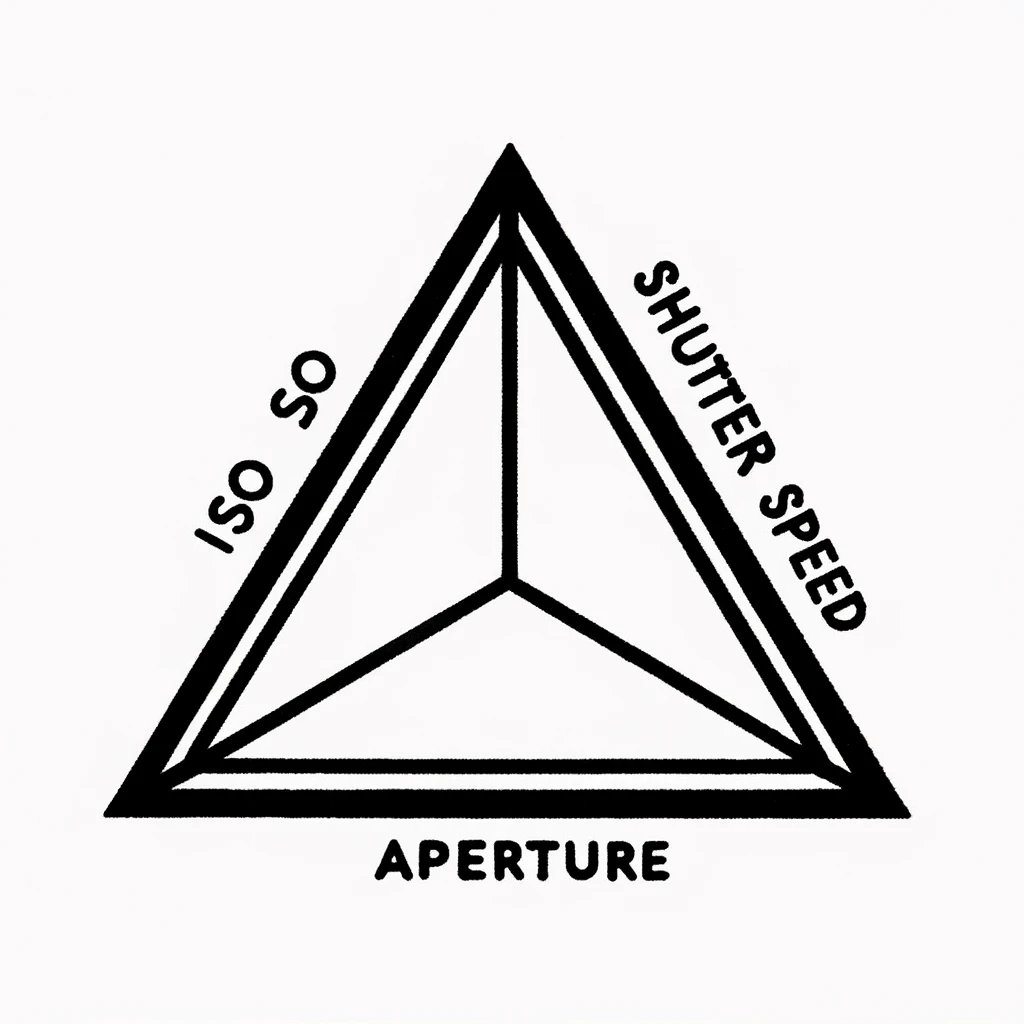
The Exposure Triangle: Street Photography Camera Settings
The exposure triangle is a fundamental concept that plays a pivotal role in achieving the desired results in street photography. It consists of three key elements: aperture, shutter speed, and ISO.
Aperture:
- A wider aperture (e.g., f/2.8) allows more light to enter the camera, resulting in a shallow depth of field (blurry background).
- A narrower aperture (e.g., f/16) lets in less light but increases the depth of field (more of the scene in focus).
Influence on other settings:
- Widening the aperture to let in more light may necessitate faster shutter speeds or lower ISO settings to avoid overexposure.
- Narrowing the aperture to increase depth of field might require slower shutter speeds or higher ISO settings in low-light conditions.
Shutter Speed:
- A fast shutter speed (e.g., 1/1000s) freezes fast-moving subjects and reduces motion blur.
- A slow shutter speed (e.g., 1/30s) allows more light in but can result in motion blur, which may be creatively used in street photography.
Influence on other settings:
- Faster shutter speeds often require wider apertures or higher ISO settings to maintain proper exposure.
- Slower shutter speeds may necessitate narrower apertures or lower ISO settings to avoid overexposure.
ISO:
- ISO measures the camera sensor’s sensitivity to light, with lower values (e.g., ISO 100) being less sensitive and higher values (e.g., ISO 1600) more sensitive.
- Increasing the ISO in low-light situations allows for faster shutter speeds and proper exposure but may introduce digital noise, degrading image quality.
Influence on other settings:
- Raising the ISO can enable the use of faster shutter speeds or narrower apertures in dimly lit environments.
- Lowering the ISO is necessary when there’s ample light, allowing for wider apertures or slower shutter speeds while maintaining image quality.
The Best Shutter Speed for Street Photography
A general rule of thumb is to use a shutter speed of around 1 over the focal length to maximize sharpness. With the shutter speed, you have the choice of freezing things in motion or keeping the blur in the image to evoke the feeling of movement. So, if you’re shooting with a 50mm lens, then a shutter speed of 1/50 is sufficient for the photo to be sharp.
In general, in most street photography situations, keeping your shutter speed at around 1/250-1/500 can ensure that you will “freeze” the action. Meaning that even if the person is moving, you will get them sharp.”
When shooting at night or in low-light conditions, you can lower your shutter speed to around 1/125th-1/60th of a second while still maintaining sharpness. But if you want to avoid motion blur, you will need to stabilize the camera with your arms; sometimes, pressing your elbows into your chest can do the job.
If you’re okay with some motion blur, then just take the shot and see what happens. Experimentation can result in a unique look that goes beyond the typical overly sharp street photography look.
The Best Aperture for Street Photography
“F/8 and be there” are the words uttered by one of the most famous street photographers, “Weegee.” This phrase, so simple yet encompassing, defines a significant aspect of modern street photography.
F/8 is important not only because it’s the sweet spot for sharpness and depth of field but because it allows you to instantly freeze action without thinking. If you’re concerned about getting the shot, there shouldn’t be any other aperture on your mind.
In low light situations, shooting at wider apertures like f/2 or f/2.8 may be necessary to allow more light into the camera sensor. This helps to capture natural light and maintain a fast shutter speed. Balancing the aperture setting with the lighting conditions is essential to achieve the desired results in street photography.
At f/8, you can set your camera to focus at a certain distance (say, 10 feet), and everything in front of and behind that distance will be reasonably sharp. When you want to quickly capture subjects at varying distances, this is the go-to method. Being able to just be present and in the moment is important in street photography.
By setting your camera to f/8 you allow yourself to put aside the technical aspects of photography and focus on using your gut instinct. Alex Webb, one of the best street photographers, uses this method to layer multiple people into the frame while still ensuring everyone is in focus.
Much of his genius lies in his ability to rely on his keen sense of when to click the shutter and set aside the technical aspects of shooting. Essentially, he ensures he’s in the present so that he is ready for the right moment whenever it comes.
Experimenting with Aperture for Street Portraits
A larger aperture, indicated by a lower number such as f/1.4 or f/2, creates a shallow depth of field. This selective focus technique can isolate the subject from the background, drawing attention to specific things in a scene. This is most effective in street portrait photography.
The Best ISO for Street Photography
A low ISO like 100 or 200 can be used to get a sharp photo with minimal noise. These lower ISO values are ideal for getting the most detail and sharpness with minimal amounts of noise.
In low light conditions or when shooting at night, using a higher ISO setting around 800-3200 is acceptable, although the higher you go, the more noise you’ll introduce. Therefore, it’s advisable to keep the ISO as low as possible.
Nowadays, most cameras can handle ISO 3200 with an acceptable level of noise that won’t significantly affect the photo quality. You can also look for artificial light sources in the scene to allow you to shoot at a lower ISO, and enhance the mood.
This is my usual approach: I begin by assessing the lighting conditions. If it’s early morning with beautiful natural light, it’s perfectly fine to start at ISO 100-200. If you’re shooting later in the day under sunnier conditions, aim for ISO 400. In cloudy conditions, opt for 800 ISO. As it gets darker, set your ISO to 1600. If you choose to shoot in the evening, start at 1600 ISO and increase it to 3200 ISO.
I will say most of the time I am shooting at 800 or 1600 ISO because it allows me to focus on changing only the shutter speed when I walk through sunny parts of the city and the areas of the city which are in shade. This means I spend less time focusing on settings since the only thing I will have to pay attention to will be my shutter speed in case I want to freeze all of the action of get a more blurry look.
Why Manual Mode for Beginners?
A good general idea for beginners is to shoot in manual mode. Why? Because you want to become so use to camera settings that they become second nature.
Manual mode allows you to master the exposure triangle, making it easier to adjust settings on the fly without too much thought. You aim for your photography settings to become as instinctive as breathing.
Why Aperture Priority Mode?
- You can get a consistent depth of field in your photos
- When lighting changes happen you can adjust the shutter speed accordingly
- Uniquely change how much of the background or foreground is in focus
Zone Focusing
Zone focusing is a manual focusing technique where the photographer sets the lens to a specific distance range. The distance I usually use is either 1m or 1.5m when I am using a 35mm lens.
If you use f/8 for example while setting your distance to 1m a small area in front of your subject will be in focus and a large amount behind the subject will be in focus.
You basically have one-third in front of the focus point and two-thirds behind it in focus. This is how photographers like Alex Webb get these shots with people both in the foreground and background in focus.
It’s also why the foreground element tends to be a bit more blurry than the background elements. Although this is great and what creates that sense of depth that makes the photograph come alive.
Mastering Precision: Best Zone Focusing Settings Explained
- 35mm lens
- f/16
- 800 ISO
- 1/400 shutter speed
- 1m focus distance
Zone focusing is best at apertures between f/16 and f/11. The smaller the aperture, the greater the depth of field. You can typically set your ISO between 800 and 1600 and use a shutter speed such as 1/400 to ensure that everything will remain in focus, even with rapid movement.
Generally, setting your camera’s focus distance to around 1 meter – one arm’s length (0.7 meters)—will ensure that everything will be sharp from this point up to 1.5 meters.
Aperture priority mode allows you to set the desired aperture while the camera adjusts the shutter speed. This mode is useful when you want to control the depth of field in your street photographs.
By using a smaller aperture (higher f-number), you can increase the depth of field and ensure that more of the scene is in focus. This is particularly useful for capturing candid moments in a busy street setting.
Choosing the Right Lens and Camera Settings
a 50mm lens, often referred to as the Nifty Fifty. With its versatile focal length and minimal distortion, it allows you to capture a wide range of subjects with clarity and precision. Whether you’re photographing bustling city streets or quiet moments of solitude, the 50mm lens delivers exceptional results.
But lens choice is just the beginning. To truly master street photography, you need to fine-tune your camera settings. Start by adjusting the aperture size. A medium aperture, such as f/8, strikes a balance between depth of field and sharpness.
It allows you to keep your subject in focus while still capturing the surrounding environment. As for shutter speed, aim for a setting that freezes the action and minimizes blur.
A fast shutter speed of around 1/250th of a second is often recommended for street photography. Finally, consider your ISO setting. While lower ISO values like 100 or 200 are ideal for well-lit conditions, you may need to increase it to higher values like 800 or 1600 in low light situations.
FAQ
What is the best shutter speed for street photography?
For still subjects, a shutter speed of around 1 over the focal length is recommended. To freeze motion in fast-moving scenes, a shutter speed of at least 1/250th of a second is ideal.
How does aperture affect street photography?
Aperture controls the size of the lens opening, affecting the depth of field. A smaller aperture (higher number) increases depth of field, ensuring more of the scene is in focus.
What is the best aperture for street photography?
Many street photographers prefer using an aperture of around F8, ensuring enough depth of field while still allowing for fast shutter speeds.
How does ISO affect street photography?
ISO determines the camera’s sensitivity to light. Higher ISO values allow for faster shutter speeds in low light conditions but can introduce digital noise.
What is the best ISO for street photography?
Using a higher ISO like 800 or 1600 allows for faster shutter speeds and deeper depth of field in less than ideal lighting conditions.
Which mode should I use for street photography?
There is no correct mode to use in street photography. Shutter Priority mode, Aperture Priority mode, and Manual mode each have their advantages.
How should I focus in street photography?
Auto-focus is convenient but may not always work well in low-light or fast-paced situations. Manual focusing and zone focusing techniques are also commonly used.
What lens is best for street photography?
The 50mm lens, also known as the Nifty Fifty, is a popular choice for its versatile focal length and minimal distortion.
How should I set up my camera for street photography?
Using a quick shutter speed, setting a medium aperture, and starting with a low ISO are good starting points. Adjustments can be made based on lighting conditions and desired effects.
How can I organize and edit my street photos?
Adobe Photoshop Lightroom is a popular tool for managing and editing street photos. It allows for easy organization, sharing, and editing on the go.
This post contains affiliate links which means I may receive a commission from purchases made through links. I will only recommend products I know personally used, and can attest to their high quality. Learn more on my private policy page


