The Ultimate Guide to Ricoh Gr III Settings
This post contains affiliate links which means I may receive a commission from purchases made through links. I will only recommend products I know personally used, and can attest to their high quality. Learn more on my private policy page
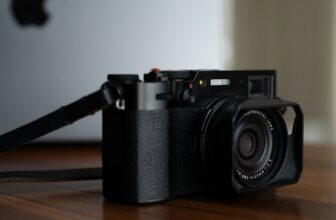
The Ricoh GRIII is a popular camera for street photography and capturing great images requires great camera settings. In this article, we’ll talk about recommended settings based on user experience. If you’re curious about which Ricoh camera is right for you, don’t miss out on my article comparing the Ricoh GRIII to the Ricoh GRIIIx.
Recommended Settings for Daylight Shooting
To start, switch to aperture priority mode and set your aperture to f8. This will ensure a good balance between depth of field and sharpness in your photos.
Next, adjust your ISO setting to 1600, or the highest acceptable ISO for your personal preference. This will allow you to capture enough light while minimizing digital noise.
For quick focusing, use the snap focus feature. Set it to the desired distance, such as 1m or 2m, and you’ll be ready to capture the decisive moments without any delay. I choose these distances because they allow enough space to capture multiple people in focus, enabling you to layer the shot with one person in the background, another in the foreground, and others in between.
Best Settings for Nighttime Shooting
Shutter Priority Mode
One of the key settings to consider when shooting at night is the shutter speed. Using shutter priority mode allows you to have control over the exposure time while the camera selects the appropriate aperture. For capturing people in motion, setting a shutter speed of around 1/125th of a second helps prevent motion blur.
Auto ISO with a Maximum Limit
Setting your ISO to auto with a maximum limit is an effective way to minimize noise in night shots. I would suggest a limit of either 3200 or 6400 ISO. Be aware that at 6400 ISO, you’re likely to see a significant amount of grain, and even at 3200, it can be noticeable.
Looking for artificial light is often the best strategy. I’ve found that shooting at a lower shutter speed was always a better idea than increasing the ISO if you don’t want an overly noisy image.
Shoot in RAW Format
Shoot in RAW to adjust exposure, white balance, and noise reduction in your night shots later. I’ve found it’s usually better to use a lower shutter speed than to increase the ISO. If you’re shooting at night, it’s disadvantageous to shoot in JPEG because you can’t ‘save’ an underexposed shots as effectively.
Using Snap Focus for Low-Light Focusing
Slowing down is key. In low-light conditions, it may be challenging to accurately judge the distance between you and your subject. Take your time to carefully gauge the distance and adjust the snap focus.
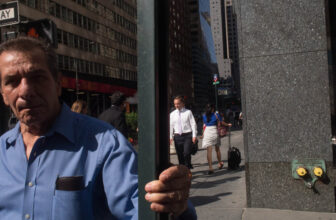
Street photography is fast-paced and filled with unexpected moments you tend to lose when you aren’t ready. The snap focus feature is your asset when it comes to those split-second moments especially in low-light situations.
Auto White Balance
the right white balance is important for capturing accurate colors and tones. This is where the auto white balance feature on the Ricoh GRIII comes in handy. With modern cameras becoming increasingly advanced, the auto white balance function can accurately determine the appropriate white balance setting in most situations.
By using auto white balance, you can ensure that your night street photos have the right color temperature, regardless of the lighting conditions. This allows you to focus on capturing the moment without worrying about adjusting the white balance manually.
Finding the Ideal Aperture and Shutter Speed
An aperture of f/2.8 allows more light to be captured, resulting in brighter images. However, keep in mind that wider apertures also affect the depth of field, meaning less will be in focus both in front of and behind your subject.
Equally important is selecting the right shutter speed. A moderately fast shutter speed, around 1/80th to 1/200th of a second, is recommended for night street photography. This helps freeze subjects in motion and minimizes the risk of blur caused by camera shake or the person moving.
Final Thoughts
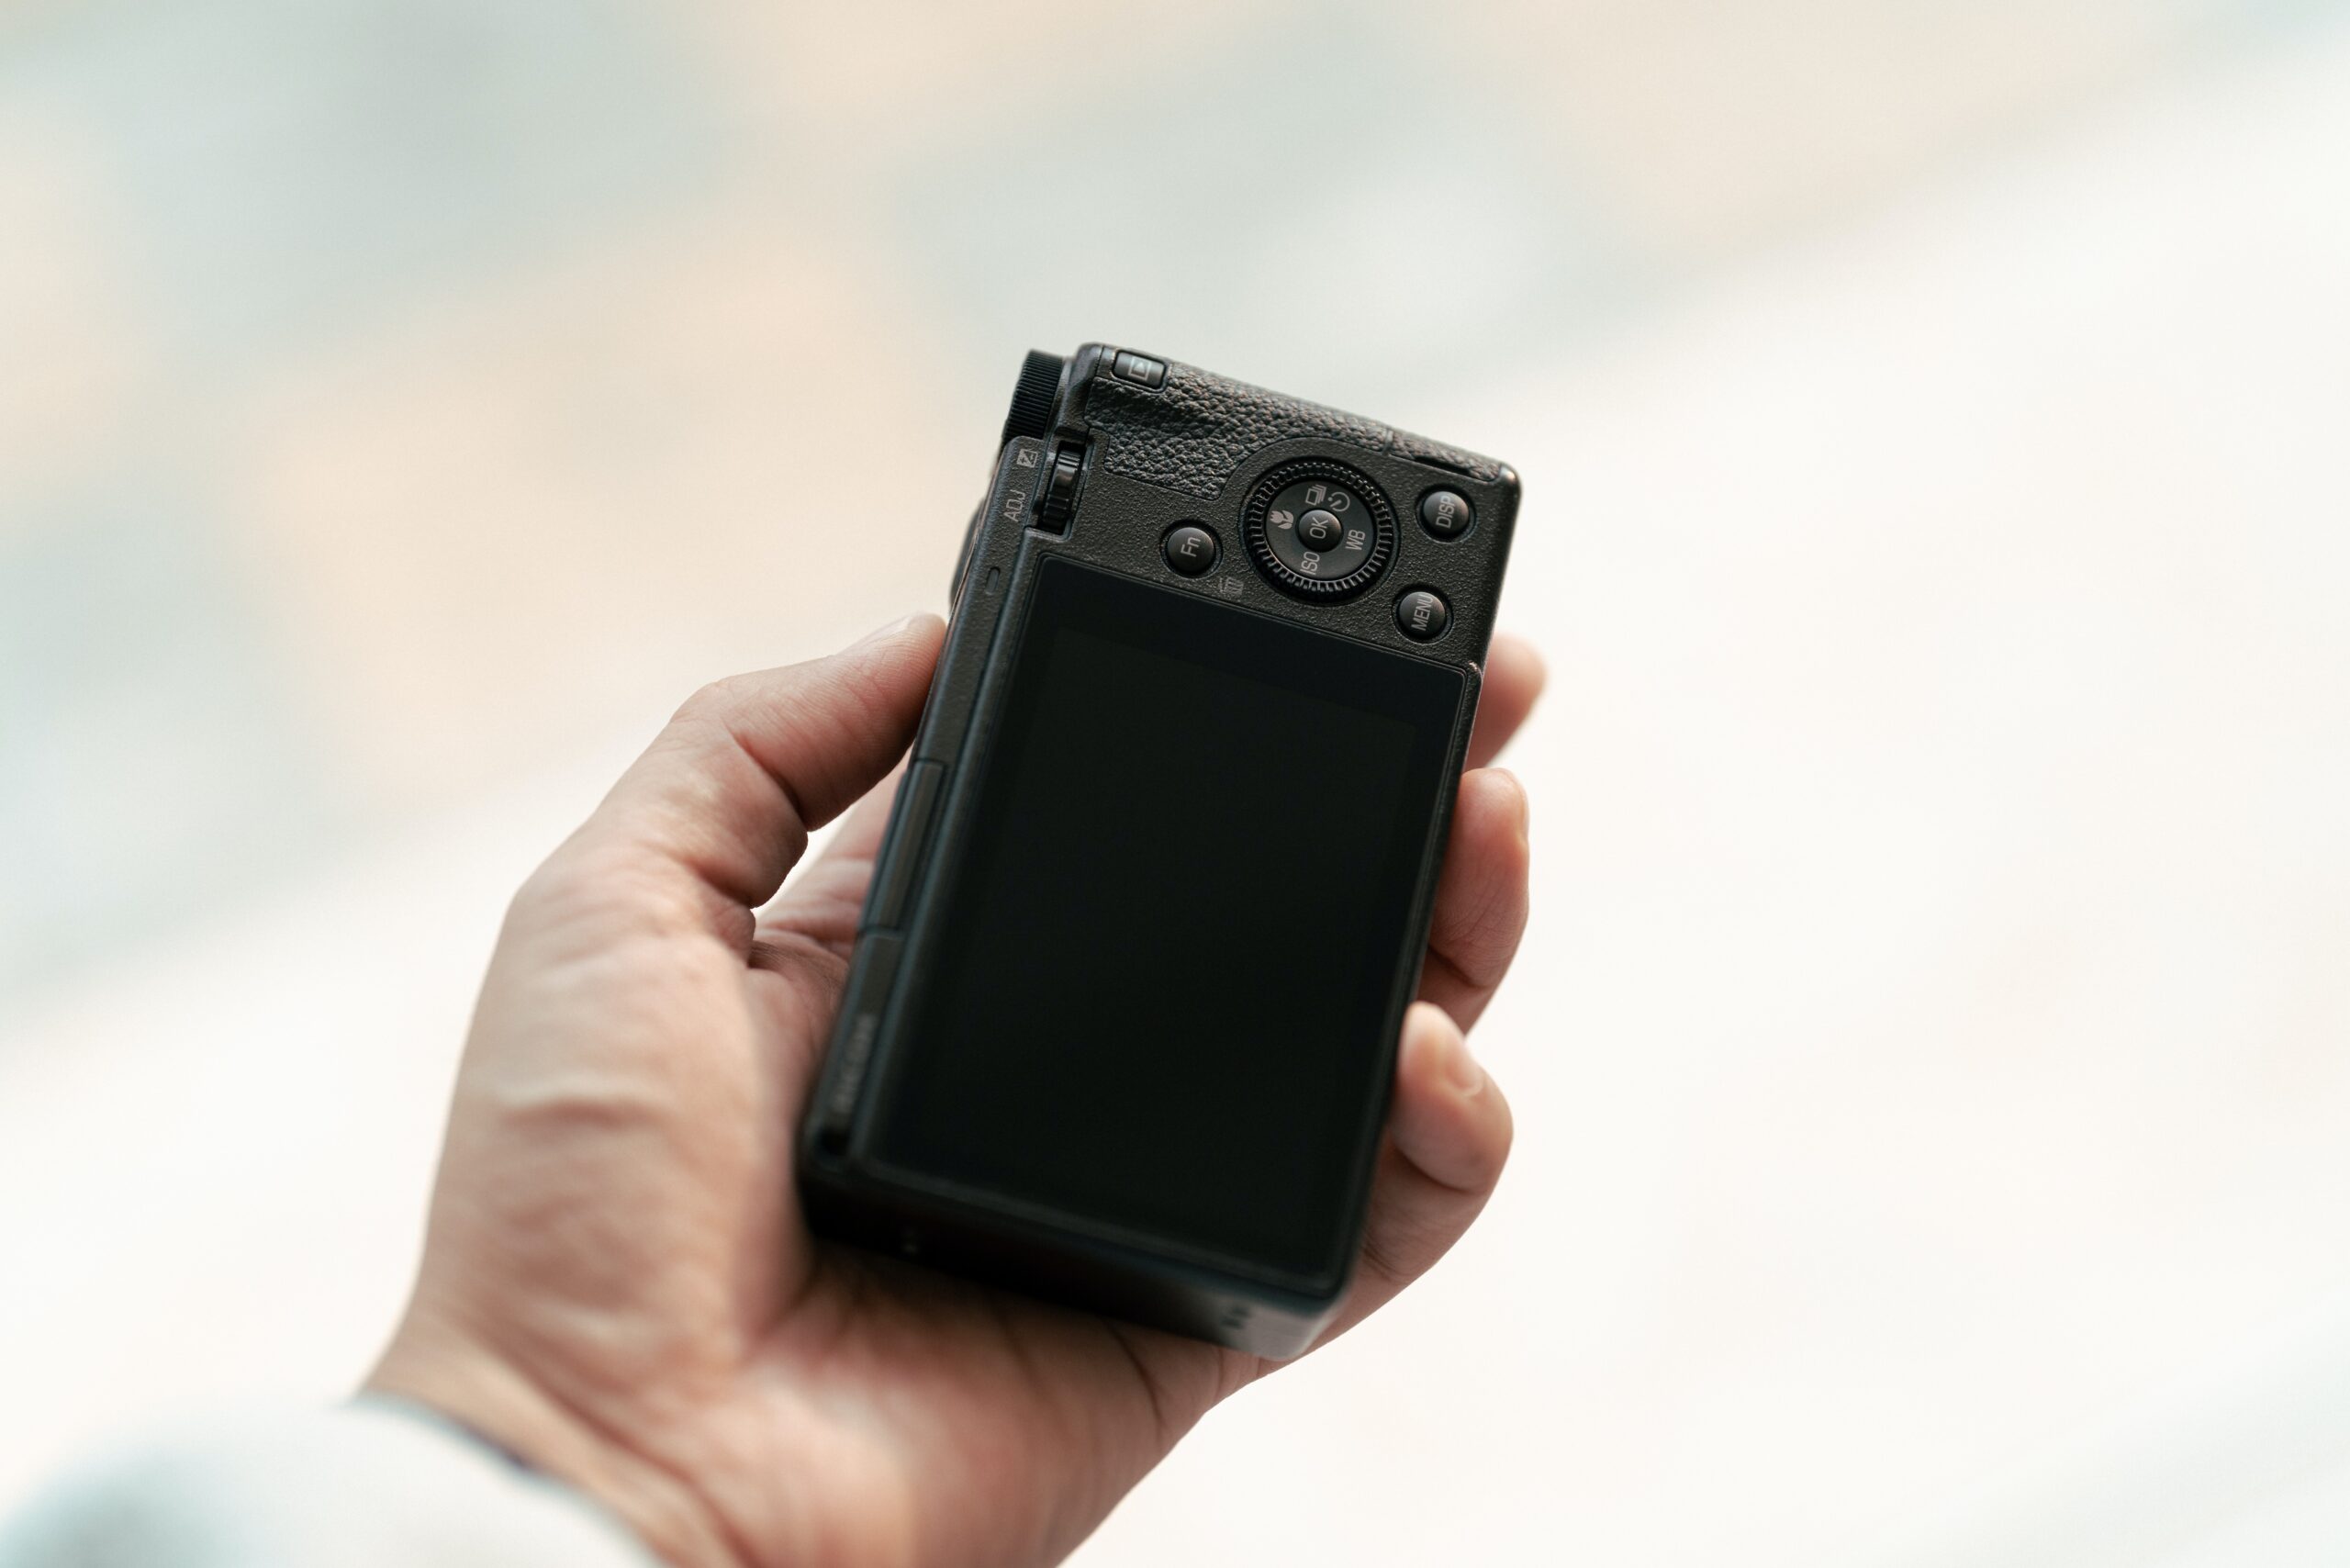
If you’re interested in learning more about the Ricoh GRIII and gaining a comprehensive understanding of all the camera’s features, be sure to check out the article. If you’re curious about other popular point-and-shoot cameras and would like a comparison with the Ricoh GRIII, then consider reading my review of the Ricoh GRIII vs. Sony Rx100 VII.
FAQ
What are the best settings for the Ricoh GRIII?
aperture priority mode at f8, ISO 1600 (or highest acceptable ISO), and snap focus set to the desired distance for daylight shooting. For nighttime shooting, using shutter priority mode with a shutter speed of around 1/125th of a second is recommended. Manual mode is also advised for complete control over settings.
How can I optimize my camera settings for daylight shooting?
To optimize your camera settings for daylight shooting, use aperture priority mode at f8, ISO 1600 (or highest acceptable ISO), and snap focus set to the desired distance. Setting the white balance to daylight and using a flat monochrome preset can help achieve the desired look. Using the histogram to adjust exposure is also recommended.
What are the best settings for nighttime shooting?
The best settings for nighttime shooting on the Ricoh GRIII include using shutter priority mode with a shutter speed of around 1/125th of a second to prevent motion blur when capturing people. For landscapes at night, slower shutter speeds of 1/15th or 1/8th of a second can be used. Setting the ISO to auto with a maximum limit helps minimize noise, and shooting in RAW format allows for better post-processing capabilities.
How can I use snap focus for low-light focusing?
Snap focus is a feature on the Ricoh GRIII that allows pre-focusing the camera to a specific distance. While it can be useful in low-light conditions where autofocus is challenging, users recommend slowing down and being aware of foot movement. Snap focus can be especially handy for street photography and capturing fleeting moments.
When should I use manual mode?
Manual mode gives photographers full control over settings like aperture, shutter speed, and ISO. It is recommended to use manual mode once you have a good understanding of exposure and how the exposure triangle works. This allows for precise adjustments depending on the lighting conditions and desired creative effects.
Which metering mode should I use for accurate exposures in night street photography?
Choosing the right metering mode is essential for accurate exposures in night street photography. Evaluative/multi-segment metering is a popular choice as it analyzes light across the entire frame.
However, in situations with a subject illuminated by a shop window surrounded by shadows, switching to center-weighted metering mode can provide more accurate readings.
Is auto white balance recommended for night street photography?
Yes, auto white balance is recommended for night street photography as modern cameras are capable of accurately determining the appropriate white balance in most situations. Shooting in RAW format allows for adjustments to white balance during post-processing, providing even more versatility in correcting color temperatures.
This post contains affiliate links which means I may receive a commission from purchases made through links. I will only recommend products I know personally used, and can attest to their high quality. Learn more on my private policy page